

Wall Decals & Murals: A Practical Guide to Sizing, Surfaces and Safe Removal
A blank wall is an invitation, but it is also a risk.
1. Why Wall Decal Projects Go Wrong
Most disappointing decal results trace back to three avoidable mistakes. The first is poor scale: a small decal floating on a large wall looks accidental rather than designed.
The good news is that each of these problems is predictable.
2. Decal or Mural: Which Format Fits Your Wall
The two formats solve different problems, so it helps to decide which one you actually need.
Decals are individual shapes or small groups of shapes, such as leaves, lettering, geometric forms or silhouettes. You arrange them yourself, which gives you flexibility. They suit people who want to adjust the composition, work around windows and outlets, or refresh a design without covering the whole wall.
Murals are larger, continuous scenes that make a single statement, often covering a full wall or a large section above a bed or sofa. They create impact quickly and remove the guesswork of arranging many pieces, but they demand more careful measuring because the image has to line up from panel to panel.
If you are undecided, ask what role the wall should play. A focal point behind a headboard usually calls for a mural-style statement. A hallway, nursery corner or desk area often works better with a loose decal arrangement. You can browse both formats in the Wall Decals & Murals collection, which is a useful place to compare scale and style side by side.
3. Reading Your Wall Surface Before You Buy
Adhesion depends on the wall, not just the product. Before ordering, run through a quick surface check.
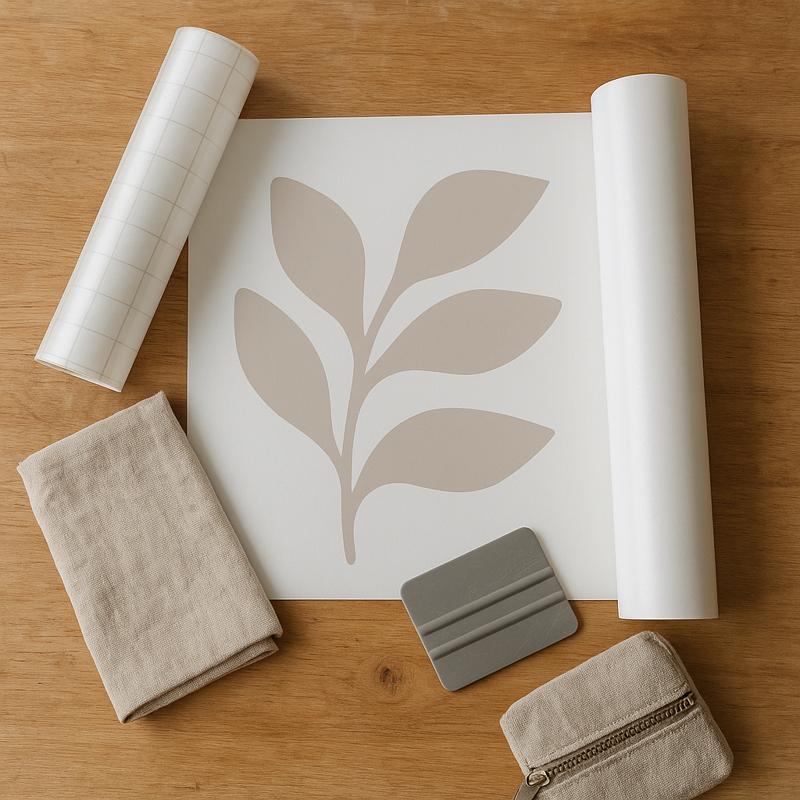
- Paint age: Paint should be fully cured. Freshly painted walls can take several weeks to harden, and applying film too early may lift paint when you remove it later.
- Finish: Smooth matte or eggshell walls generally give the most reliable grip. Very glossy surfaces can be slippery, and heavy texture reduces the contact area between film and wall.
- Dust and grease: Kitchens and hallways collect a thin film of oils and dust. Wipe the area with a barely damp cloth and let it dry completely.
- Condition: Flaking paint, cracks or damp patches will not hold a decal. Repair or avoid those areas.
Test first.
4. Measuring and Planning the Layout
Good installs begin on paper, not on the wall.
For decal arrangements, lay everything out on the floor first. Photograph the layout, then transfer it to the wall using painter's tape to mark the position of key pieces.
Two guidelines help with proportion. Decals above furniture generally look best when the cluster spans roughly two thirds of the furniture's width.
5. Step-by-Step Application Without Bubbles
Work in a well-lit room at normal indoor temperature. Cold walls and cold film bond poorly.
- Clean and dry the wall. Even a little dust can cause a visible lump under thin film.
- Position with tape. Tape the decal or panel in place and step back to check alignment from across the room. Use a level for straight lines.
- Peel gradually. Lift one edge of the backing paper, fold it back and expose only a few centimeters at a time.
- Smooth from the center outward. Use a flat card or a soft squeegee, pressing from the middle toward the edges to push air out.
- Handle bubbles calmly. If a bubble appears, lift that section gently and smooth it again. Persistent small bubbles can be pressed toward the edge.
- Finish the edges. Press corners and borders firmly so they do not curl.
For large murals, a second person makes the job far easier. One person holds the panel taut while the other smooths, which reduces creases and misalignment.
6. Caring for Decals and Removing Them Cleanly
Everyday care is simple. Dust the surface with a dry microfiber cloth. If something splashes on it, blot with a slightly damp cloth and avoid harsh solvents or abrasive scrubbing, which can dull the print or lift edges.
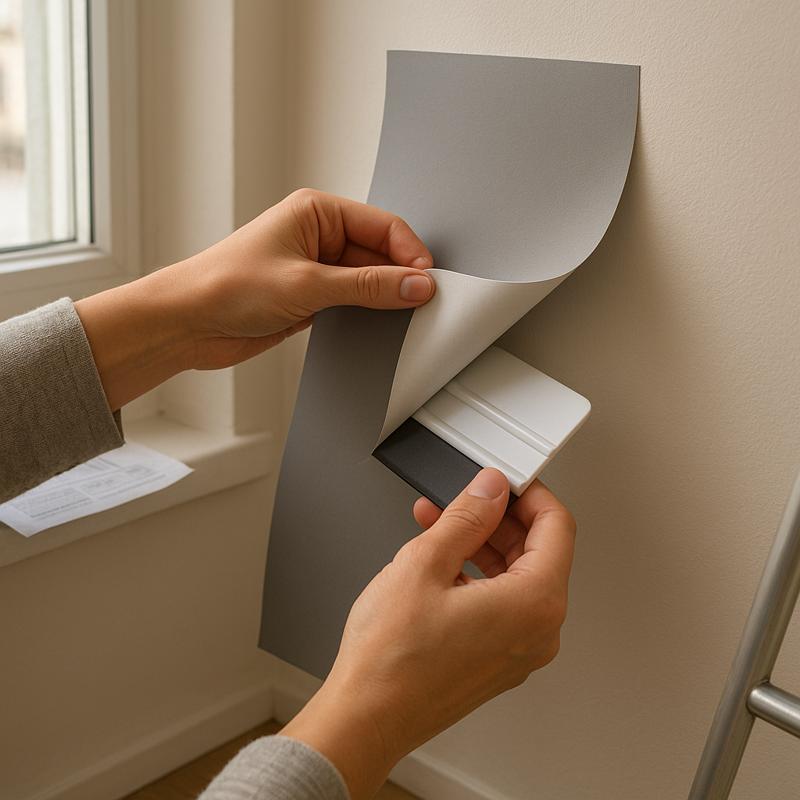
Keep decals away from constant direct heat, such as the area right above a radiator, and be cautious in steamy bathrooms unless the product is described as suitable for humid spaces.
Removal goes best when done slowly. Start at one corner and peel at a low angle, close to the wall rather than pulling straight out. If the film resists, warm it briefly with a hair dryer on a low setting to soften the adhesive, then continue peeling. Never yank quickly, since that is how paint comes off with the film. Any light residue can usually be wiped away with a soft cloth and a little mild soapy water.
Removable products are designed for this, yet results still depend on wall condition. That is why the earlier surface check matters so much for renters.
7. Matching Decals to Rooms and Moods
Different rooms reward different approaches.
- Bedroom: Calming landscapes, botanical shapes or soft abstract murals behind the bed create a focal point without adding visual noise.
- Living room: A bold mural or a balanced decal cluster above the sofa anchors the seating area and gives photos and shelves a backdrop.
- Kids' room: Playful characters and shapes are easy to rearrange as tastes change, which suits the flexibility of individual decals.
- Home office: Subtle lettering or geometric patterns add personality behind your video call background without cluttering the frame.
- Entryway: A slim vertical design makes narrow spaces feel intentional and welcoming.
If you want to combine wall art with other damage-free updates, such as hooks, shelves or picture hanging, the I Can't Drill or Renovate collection groups renter-friendly ideas in one place. For walls that need a broader pattern than a single design, peel & stick wallpaper offers a different route, and a removable accent wall décor piece can complement a decal without competing with it.
Restraint is the final design principle. One strong wall with a decal or mural, surrounded by calmer walls, usually looks more polished than decoration on every surface. If you want more renter-friendly ideas to pair with a finished wall, you can explore the range at 80%House.
8. Summary
Wall decals and murals work best when treated as a small project rather than an impulse purchase.
Follow these steps and a plain wall becomes a considered feature of your home, one that looks intentional now and leaves the wall in good condition when it is time to move on.